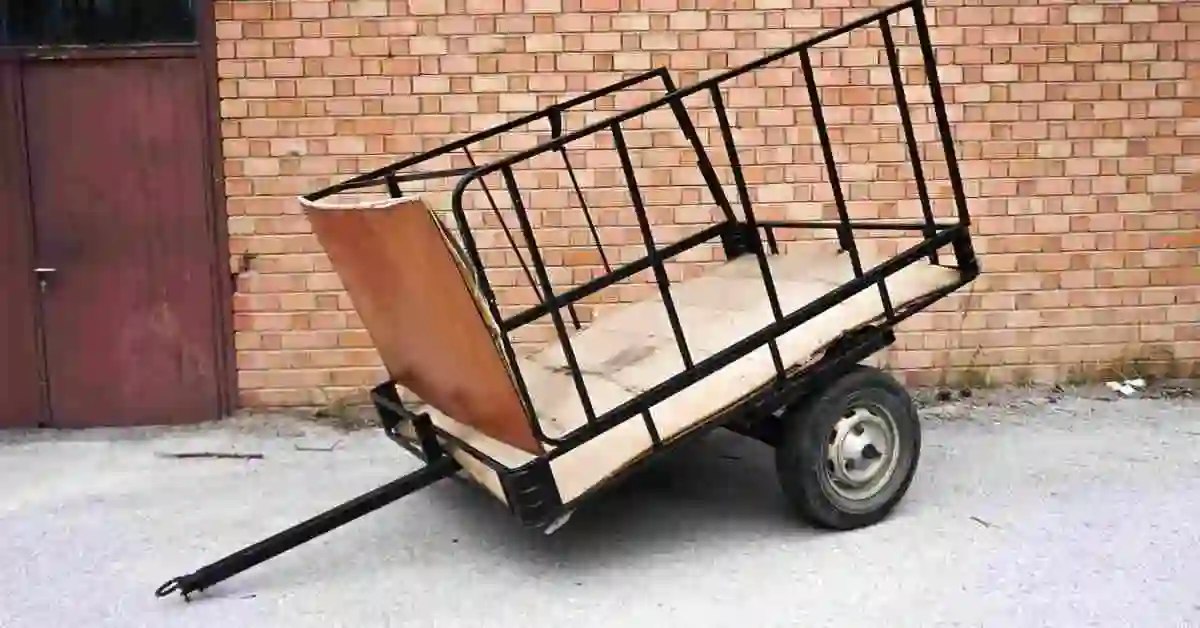
Installing a new floor on an ATV trailer can enhance its durability, functionality, and safety.
ATV trailers, commonly used for hauling various personal items, require a sturdy and reliable floor to withstand different types of loads and environmental conditions.
This article will guide you through the process of How to install a new floor on the ATV trailer.
How to Install / Replace a new floor on the ATV trailer?
Preparation
1. Assessing the Trailer:
- Begin by thoroughly inspecting your ATV trailer to understand its current condition.
- Check the existing floor for any signs of wear, damage, or rot.
2. Choosing the Right Material:
- Common flooring materials include treated plywood, aluminum, and rubber mats.
- Consider the type of loads you’ll be hauling and the weather conditions the trailer will be exposed to.
3. Gathering Tools and Supplies:
- Essential tools include a measuring tape, saw, drill, screws, and safety gear.
- Ensure you have all the necessary hardware for installation.
Removal of the Old Floor
1. Clearing the Trailer:
- Remove any items from the trailer to have a clear working area.
- If your trailer has sides or additional fixtures, consider if they need to be removed.
2. Removing the Old Floor:
- Unscrew or pry off the old flooring carefully.
- Inspect the frame and cross-members for any damage or rust and repair if necessary.
Measuring and Cutting the New Floor
1. Measuring the Trailer Bed:
- Measure the length and width of the trailer bed accurately.
- Account for any irregularities or custom fittings.
2. Cutting the Flooring Material:
- Transfer these measurements onto your flooring material.
- Use a saw to cut the material to size, ensuring straight and precise cuts.
Installation of the New Floor
1. Positioning the Flooring:
- Place the newly cut flooring onto the trailer frame.
- Ensure it fits snugly and make any necessary adjustments.
2. Securing the Floor:
- Drill holes for screws, making sure they align with the frame or cross-members.
- Fasten the floor securely using appropriate screws or bolts.
- For added durability, you can apply a sealant or coating, especially if using plywood.
Finishing Touches
1. Reattaching Fixtures:
- If any sides or fixtures were removed, reattach them securely.
2. Safety Checks:
- Inspect the trailer to ensure everything is securely fastened.
- Check that there are no sharp edges or protruding screws.
3. Maintenance Tips:
- Regularly inspect the floor for wear and tear.
- Clean the trailer floor as needed to prevent the buildup of debris and moisture.
Maintaining Your ATV Trailer Floor for Peak Performance?
Investing in a new ATV trailer floor is a significant step towards enhancing your outdoor adventures.
But just like any outdoor equipment, proper care and maintenance are crucial to ensure your floor stays in top shape for years to come.
Here are some key tips for futureproofing your floor and keeping it looking its best:
Regular Cleaning:
- Sweep away debris: After each use, sweep away dirt, leaves, and any other debris that can accumulate on the floor. This prevents buildup and potential staining.
- Mop or pressure wash: Depending on the material, mop or pressure wash the floor regularly to remove grime and mud. Use appropriate cleaning solutions to avoid damaging the surface.
Protection and Prevention:
- Seal and coat: If your floor is made of wood or plywood, apply a fresh coat of sealant or waterproof coating periodically. This protects against moisture damage and warping.
- Address spills promptly: Clean up spills of oil, gasoline, or other chemicals immediately to prevent staining or weakening the floor material.
Addressing Wear and Tear:
- Inspect regularly: Look for cracks, chips, or loose fasteners during your cleaning routine. Address minor issues promptly to prevent them from worsening.
- Replace damaged parts: If you notice significant damage, replace the affected part or section of the floor to maintain its structural integrity.
Seasonal Storage:
- Clean and dry thoroughly: Before storing your trailer for the winter or off-season, clean and dry the floor completely to prevent mold or mildew growth.
- Cover and protect: Consider covering the trailer with a tarp or using a storage shed to protect the floor from harsh weather conditions.
Additional Tips:
- Use mats: Place rubber mats or protective pads in areas where cargo is frequently loaded or unloaded to minimize wear and tear.
- Avoid overloading: Don’t exceed the weight capacity of your trailer to prevent warping or damage to the floor.
- Choose the right materials: Opt for durable and weather-resistant flooring materials like aluminum or marine-grade plywood to ensure long-lasting beauty.
By following these simple maintenance tips, you can extend the life of your ATV trailer floor and keep it looking great for years to come.
Remember, a little preventive care goes a long way in protecting your investment and ensuring countless enjoyable outdoor adventures with your trusty trailer.
Conclusion
Installing a new floor on your ATV trailer or ATV utility trailer can significantly improve its functionality and lifespan.
By carefully selecting the right materials and following these steps, you can ensure a safe and durable surface for all your hauling needs.
Remember always to prioritize safety during the installation process and consult a professional if you encounter any difficulties.
With a new floor in place, your ATV trailer will be better equipped to handle the various demands of personal use.