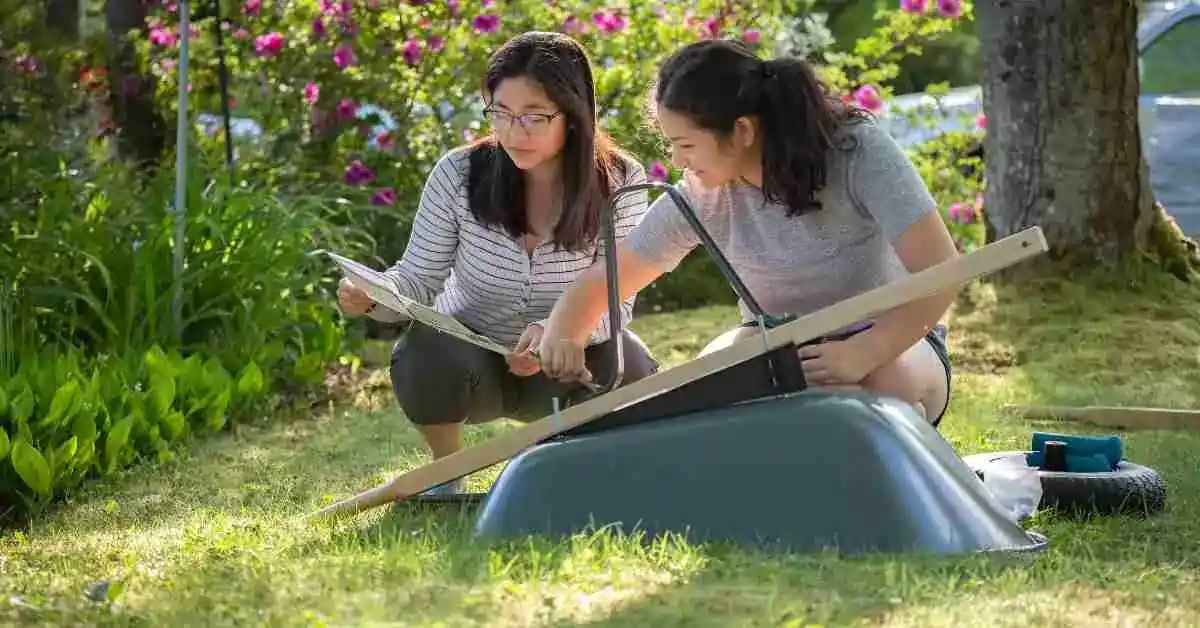
Creating a wheelbarrow for a school project is an excellent way to learn about basic construction principles, mechanics, and even a bit of history, as wheelbarrows have been used since ancient times for moving heavy loads.
If you’re wondering how to make a wheelbarrow for school project, this article is your go-to guide.
Table of Contents
We’ll walk you through the steps to create a simple yet functional model wheelbarrow that can be a great addition to your school projects.
How To Make A Wheelbarrow For School Project?
Materials Needed
- Plywood or thick cardboard (for the body and handles)
- A small, sturdy wheel (can be sourced from old toys or purchased)
- Dowels or sturdy sticks (for the axle and handles)
- Screws or glue (for assembly)
- Paint or markers (for decoration)
Tools Required
- Saw (if using plywood)
- Drill (for making holes)
- Screwdriver (if using screws)
- Scissors (if using cardboard)
- Paintbrushes (for decoration)
Step 1: Design Your Wheelbarrow
Begin by sketching your wheelbarrow design. It should include a rectangular body, two handles extending from the back, and a wheel at the front. Decide on the dimensions based on the size of the wheel you have; a good starting point could be making the body about twice as long as the wheel’s diameter.
Step 2: Cut Out the Pieces
Using your design as a guide, cut out the body of the wheelbarrow from plywood or cardboard. If you’re using plywood, you’ll need a saw; if cardboard, scissors will suffice. Then, cut out two pieces for the handles. They should be long enough to comfortably reach when standing behind the wheelbarrow.
Step 3: Attach the Handles
Attach the handles to the body. If you’re using plywood, drill holes and use screws to secure them. For cardboard, glue may be sufficient. Ensure the handles are firmly attached and can support the weight of the wheelbarrow.
Step 4: Install the Wheel
The wheel will need an axle to rotate on. Cut a dowel or stick that is slightly longer than the width of the wheelbarrow’s body at the front. Drill holes on each side of the body where the wheel will be located, and push the axle through. Secure the wheel on the axle, making sure it rotates freely. You may need to glue or screw the axle in place to ensure it stays secure.
Step 5: Assemble and Secure
With the wheel in place, make sure everything is securely attached. If using plywood, you might want to reinforce the structure with extra screws or brackets. For cardboard models, ensure the glue has dried and everything holds together well.
Step 6: Decorate
Now comes the fun part—decorating your wheelbarrow. Use paint or markers to add color and designs. You could even add details like a name or patterns to personalize it.
Step 7: Test It Out
Once your wheelbarrow is dry and ready, test it out by placing light objects inside and moving it around. This will help you see if there are any adjustments needed for stability or mobility.
How to Make a Wheelbarrow for School Project with Paper
Step 1: Design and Cut
Design your wheelbarrow on the paper. You’ll need to create a flat layout that includes the body, sides, and handles. Once your design is ready, carefully cut out the shapes with scissors.
Step 2: Fold and Assemble
Fold the paper to form the body of the wheelbarrow, bringing the sides up to meet and form the container part. Glue the edges to secure them. Fold the handles and attach them to the body with glue.
Step 3: Attach the Wheel
For the wheel, if you’re using a bottle cap, attach it directly under the front of the wheelbarrow using glue. If you’re making a wheel from paper or cardstock, cut out a circle, make a hole in the center, and fit it onto a toothpick or small stick axle. Attach the axle under the front of the wheelbarrow with glue, ensuring the wheel spins freely.
Step 4: Decorate
Use markers or paint to decorate your paper wheelbarrow. You can add designs, colors, or even write your name on it.
How to Make a Wheelbarrow for School Project with Cardboard
Step 1: Cut Out the Pieces
Based on your design, cut out the body of the wheelbarrow and two pieces for the handles from cardboard. Ensure the body’s size matches the wheel you’ve chosen.
Step 2: Assemble the Body
Fold the cardboard to create the container part of the wheelbarrow, securing the sides with glue or screws for added strength.
Step 3: Attach the Handles
Glue or screw the handles to the body of the wheelbarrow. Ensure they’re sturdy and can support the weight of the wheelbarrow when lifted.
Step 4: Install the Wheel
Create an axle from a dowel or stick that fits through the wheel. Drill holes on each side of the wheelbarrow’s front, insert the axle, and secure the wheel. Ensure it can rotate freely for easy movement.
Step 5: Final Assembly and Decoration
Check all parts are securely attached. Decorate your cardboard wheelbarrow using paint or markers to give it a personalized touch.
Step 6: Test Your Wheelbarrow
Gently place some weight in the wheelbarrow to test its strength and maneuverability. Make any necessary adjustments to ensure stability.
Conclusion-
Building a kid’s wheelbarrow for a school project, guided by instructions on how to make a wheelbarrow for school project, not only teaches you about construction and mechanics but also encourages creativity and problem-solving.
It’s a hands-on project that can be customized in many ways, making it a unique addition to your school projects.
Whether made from plywood for durability or cardboard for an easier build, the skills you learn will be valuable beyond just this project.

