Wheelbarrows are essential tools for gardeners, construction workers, and DIY enthusiasts alike.
However, wear and tear can lead to damage over time, including the dreaded wheelbarrow hole.
A punctured wheelbarrow can render it useless, but the good news is that repairing a hole is a manageable DIY task.
In this article, we will guide you through the step-by-step process of how to fix hole in wheelbarrow.
Before you begin, here are some things to consider:
- The size and location of the hole: Small holes can often be patched with epoxy or fiberglass, while larger holes may require patching with sheet metal or replacing the entire wheelbarrow bed.
- The material of the wheelbarrow: Wheelbarrows can be made from metal, plastic, or wood, and each material requires a different repair approach.
- Your DIY skills and comfort level: Some repair methods are more complex than others. If you’re not confident in your DIY skills, it may be best to take your wheelbarrow to a professional for repair.
1.Gather all these materials:
For metal wheelbarrows:
- Wire brush
- Sandpaper
- Metal degreaser
- Metal patch kit (fiberglass or epoxy)
- Pop rivets or rivets (optional)
- Paint (optional)
For plastic wheelbarrows:
- Plastic welder or epoxy putty
- Sandpaper
- Rubbing alcohol
- Plastic cleaner (optional)
For wooden wheelbarrows:
- Wood glue
- Clamps
- Sandpaper
- Wood filler (optional)
- Paint (optional)
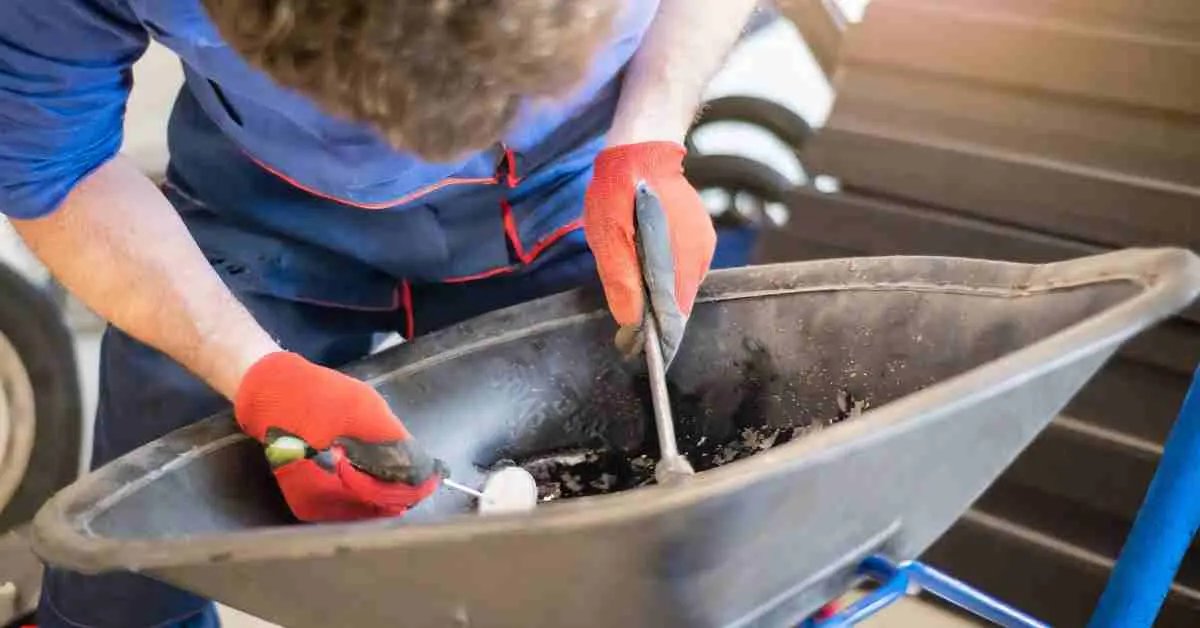
2. Prepare the area:
- Clean the area around the hole thoroughly. Remove any dirt, rust, or debris.
- Sand the area around the hole to roughen the surface and create a better bond for the patch.
- Degrease the area (for metal wheelbarrows only) using a metal degreaser.
3. Apply the patch:
For metal wheelbarrows:
- Cut a piece of fiberglass or epoxy mesh to size, making sure it covers the hole completely.
- Mix the epoxy or fiberglass resin according to the manufacturer’s instructions.
- Apply the resin to the hole and the patch material.
- Press the patch firmly into place and smooth out any wrinkles.
- Allow the patch to dry completely according to the manufacturer’s instructions.
- Once the patch is dry, you can paint that part of your wheelbarrow to match the rest.
For plastic wheelbarrows:
- Clean the area around the hole with rubbing alcohol.
- Mix the plastic welder or epoxy putty according to the manufacturer’s instructions.
- Apply the plastic welder or epoxy putty to the hole, filling it completely.
- Smooth out the putty with a wet finger or putty knife.
- Allow the putty to dry completely according to the manufacturer’s instructions.
- Once the putty is dry, you can sand it smooth and paint it to match the rest of the wheelbarrow.
For wooden wheelbarrows:
- Apply wood glue to the edges of the hole and the patch material.
- Clamp the patch firmly in place and allow the glue to dry completely.
- Once the glue is dry, you can use wood filler to fill any gaps or cracks.
- Sand the area smooth and paint it to match the rest of the wheelbarrow.
4. Test the repair:
- Fill your wheelbarrow with water and check for leaks.
- If there are any leaks, apply additional patching material as needed.
5. Prevent future damage:
- Store your wheelbarrow in a dry, protected area.
- Avoid overloading your wheelbarrow.
- Inspect your wheelbarrow regularly for signs of wear and tear.
Additional tips on how to fix a cracked wheelbarrow:
- If you’re unsure how to repair the hole, consult a professional.
- Wear gloves and safety glasses when working with tools.
- Read and follow all safety instructions on the product labels.
- Only use your wheelbarrow once the repair is completely dry and cured.
Conclusion-
Repairing a hole in a wheelbarrow, as demonstrated in this comprehensive guide on how to fix hole in wheelbarrow, is a straightforward process that can save you money and extend the life of your tool.
By following these carefully outlined steps and utilizing the suitable materials, you can quickly get your wheelbarrow back in action.
Remember to prioritize safety, don your safety gear, take your time during each step, and relish the satisfaction of a successful DIY repair.