In the world of gardening and home maintenance, the wheelbarrow is an indispensable companion, effortlessly handling heavy loads.
Yet, navigating steps and uneven terrain presents a unique challenge. That’s where the wooden wheelbarrow ramp, a carefully crafted solution, comes into play.
This guide is your key to mastering how to build a wheelbarrow ramp out of wood.
It walks you through the steps, ensuring you create a uniquely tailored and durable ramp for optimal wheelbarrow efficiency.
Step 1: Gather All These Materials First-
Before you begin, gather the following materials:
- Pressure-treated lumber (2x6s, 2x8s, or 2x10s)
- Plywood sheets
- Wood screws
- Circular saw
- Drill with screwdriver bit
- Measuring tape
- Carpenter’s square
- Pencil
- Level
- Safety gear (gloves, safety glasses, hearing protection)
Step 2: Planning and Measurement
Start by assessing the area where you’ll be placing the wheelbarrow ramp. Measure the height of the steps or the elevation change you want to overcome. This measurement will determine the length and slope of your ramp. Additionally, consider the width of your wheelbarrow and the space available for the ramp.
Step 3: Choosing the Right Wood
Opt for pressure-treated wood to ensure durability and resistance to weather elements. Choose wood planks with the appropriate dimensions for the ramp. A common choice is 2×6 or 2×8 lumber for the frame and supports.
Step 4: Cutting the Ramp Components
Using a circular saw, cut the pressure-treated wood planks to the desired length for the ramp. You’ll need two long pieces for the sides (the stringers) and several shorter pieces to serve as the supports for the ramp. Use a carpenter’s square to ensure accurate right-angle cuts.
Step 5: Building the Ramp Frame
Lay out the two long stringers parallel to each other, maintaining the desired width of the ramp. Attach the shorter support pieces perpendicular to the stringers, evenly spaced along the length of the ramp. Secure them with wood screws to form the frame.
Step 6: Adding Plywood Decking
Cut the plywood sheets to fit the frame, providing a smooth and sturdy surface for the wheelbarrow to traverse. Attach the plywood to the frame using wood screws, ensuring a secure fit. This creates the deck of your wheelbarrow ramp.
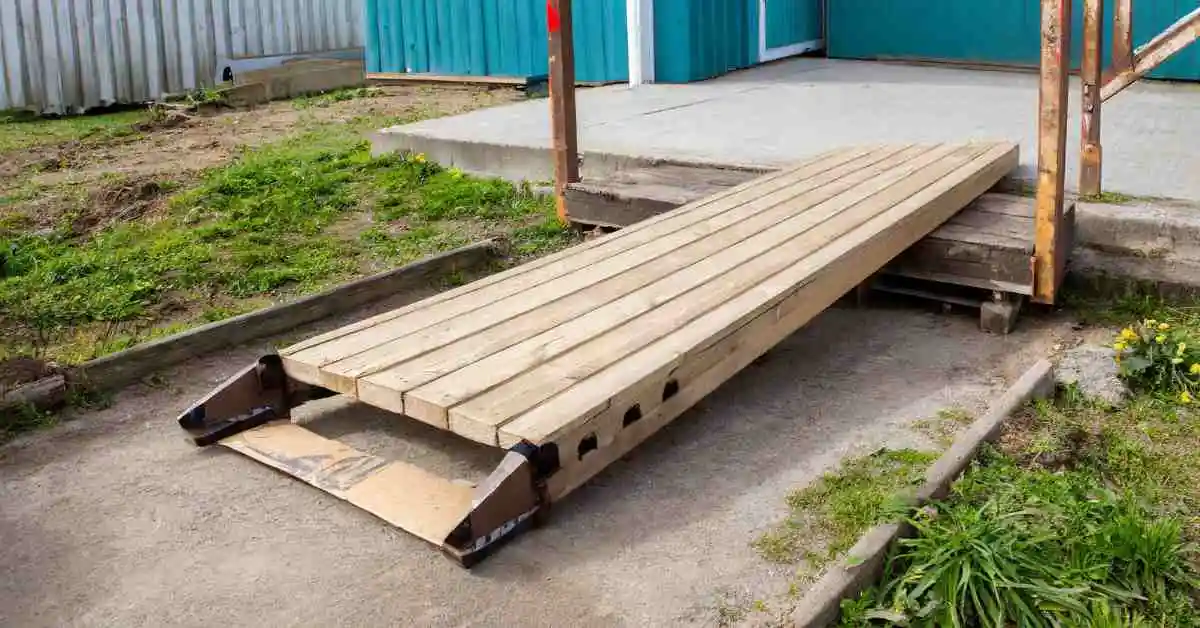
Step 7: Installing the Ramp
Position the completed ramp at the desired location, ensuring a gradual slope for easy wheelbarrow navigation. Use a level to ensure the ramp is even and secure it in place with additional screws or anchors if needed.
Step 8: Finishing Touches
Inspect the ramp for any rough edges or protruding screws, and sand them down to prevent splinters. Consider applying a weather-resistant sealant or paint to protect the wood from the elements and enhance its longevity.
Step 9:Test the ramp.
Position the ramp on the ground, ensuring stability. Roll the wheelbarrow up to test usability and check for any jerks or strain on the wheelbarrow axle or the entire unit.
These steps will easily solve your query of how to build a wheelbarrow ramp effortlessly in no time.
Tips and Safety Precautions:
- Use pressure-treated lumber to ensure that your ramp will last for years.
- Make sure the ramp is wide enough to accommodate a wheelbarrow.
- If you are not comfortable using a circular saw or skill, saw, you can have the lumber cut at a home improvement store.
- You can also add a lip to the top of the ramp to prevent the wheelbarrow from rolling off.
- Always wear safety glasses when using power tools.
- Be careful not to cut yourself with the saw blade.
- Make sure the ramp is stable before using it.
- Do not overload the wheelbarrow.
Conclusion-
In conclusion, I would like to say building a wooden ramp for my wheelbarrow was the best decision of mine as it was a super easy and cheap solution that can be implemented with just simple tools and the steps mentioned in this detailed guide.
Hope this article on how to build a wheelbarrow ramp out of wood, where I have shared my experience, must have given you the perfect idea of how to do this task.
Thanks a lot for reading.