In gardening, optimizing your outdoor experience hinges on the right tools. A game-changer in garden management is a personalized cart designed to enhance efficiency and enjoyment.
Picture a robust, mobile cart featuring bicycle wheels that seamlessly navigates your garden terrain, effortlessly transporting tools, plants, and soil.
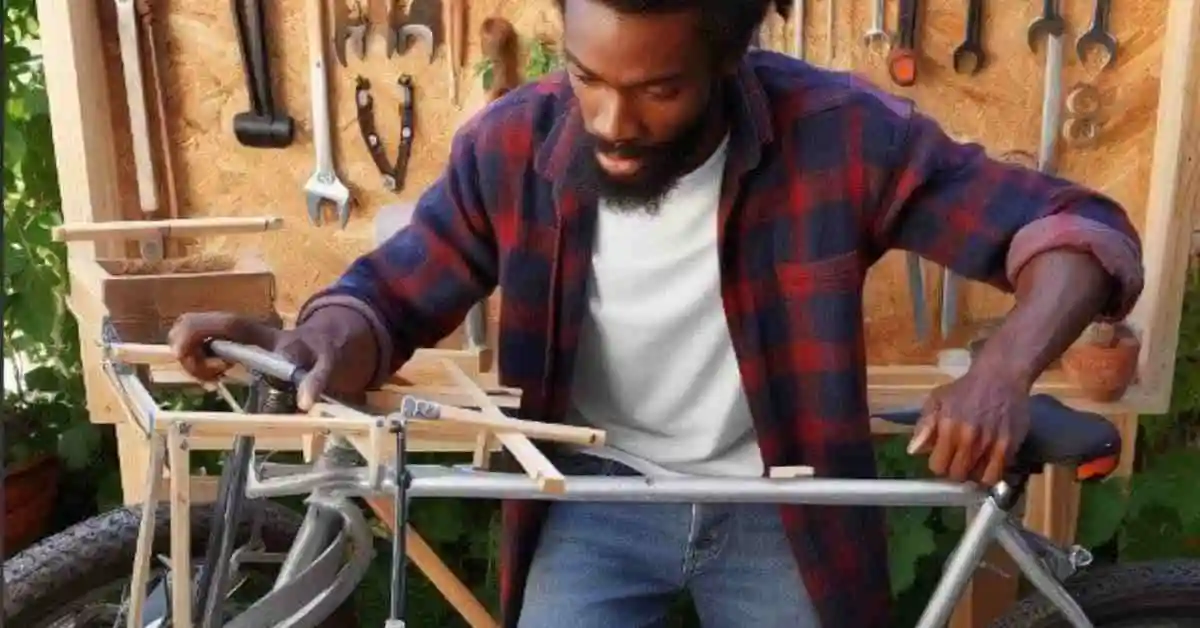
In this article, we’ll delve into the detailed steps on how to build a garden cart using bicycle wheels, providing you with a hands-on guide to creating a customized and efficient solution for your gardening requirements.
How To Build A Garden Cart Using Bicycle Wheels?
Materials Needed:
Before diving into the construction process, gather the following materials:
- Old bicycle wheels (two)
- Plywood or a sturdy wooden board
- Steel rods or pipes
- Nuts and bolts
- Axle brackets
- Drill
- Saw
- Wrench
- Sandpaper
- Paint and brushes (optional)
Step 1: Wheel Selection and Preparation
Begin by selecting two old bicycle wheels that are still in good condition. Ensure that the spokes and rims are intact. Clean the wheels thoroughly, removing any rust or dirt. If needed, apply a fresh coat of paint to give them a polished appearance.
Step 2: Design Your Cart
Sketch a rough design for your garden cart on a piece of paper. Consider the size of the cart based on your gardening needs. A standard size is approximately 3 feet long and 2 feet wide, but you can adjust the dimensions according to your preferences.
Step 3: Cut the Plywood
Using a saw, cut the plywood or wooden board according to the dimensions of your design. This will serve as the base of your garden cart. Sand the edges to ensure a smooth finish.
Step 4: Attach the Wheels
Position the bicycle wheels at each end of the plywood. Using the drill, attach axle brackets to secure the wheels in place. Make sure they are correctly aligned and securely fastened.
Step 5: Construct the Frame
Using steel rods or pipes, create a sturdy frame around the plywood. This frame will provide support and structure to your cart. Weld or bolt the rods at the corners, forming a rectangular shape.
Step 6: Reinforce the Base
To strengthen the base, attach additional pieces of plywood or wooden boards perpendicular to the main base. This will add stability and prevent the cart from sagging under the weight of your gardening supplies.
Step 7: Handlebar Installation
If desired, attach a handlebar to the front of the cart for easy manoeuvrability. This can be crafted using another piece of steel rod or pipe.
Step 8: Finishing Touches
Once the cart is assembled, give it a final inspection. Tighten loose bolts, sand rough edges, and ensure the wheels rotate smoothly. If you wish, paint the cart with outdoor paint to protect it from the elements and add a personal touch.
Conclusion:
Congratulations on successfully crafting your very own garden cart using bicycle wheels! This DIY project equips you with a practical tool for gardening and serves as a canvas for showcasing your creativity.
As you effortlessly roll your customized cart through the garden, you’ll undoubtedly appreciate the unparalleled convenience it adds to your gardening routine, enhancing the overall enjoyment and efficiency of your outdoor activities.
Happy gardening with your personalized solution on how to build a garden cart using bicycle wheels!